Requirements & installation
This guide is meant for installers and outlines the steps necessary to prepare the onboarding UI through ESF for configuring specific onboarding flows, such as internet configuration, provisioning, hardening, and more.
To successfully install this feature, the following requirements must be met:
- ESF 7.5.0+, with or without networking. Note that a no-network profile does not allow for onboarding UI network configuration
com.eurotech.framework.security.hardening.featureversion 1.0.0 or later
Bundle installation (mandatory)
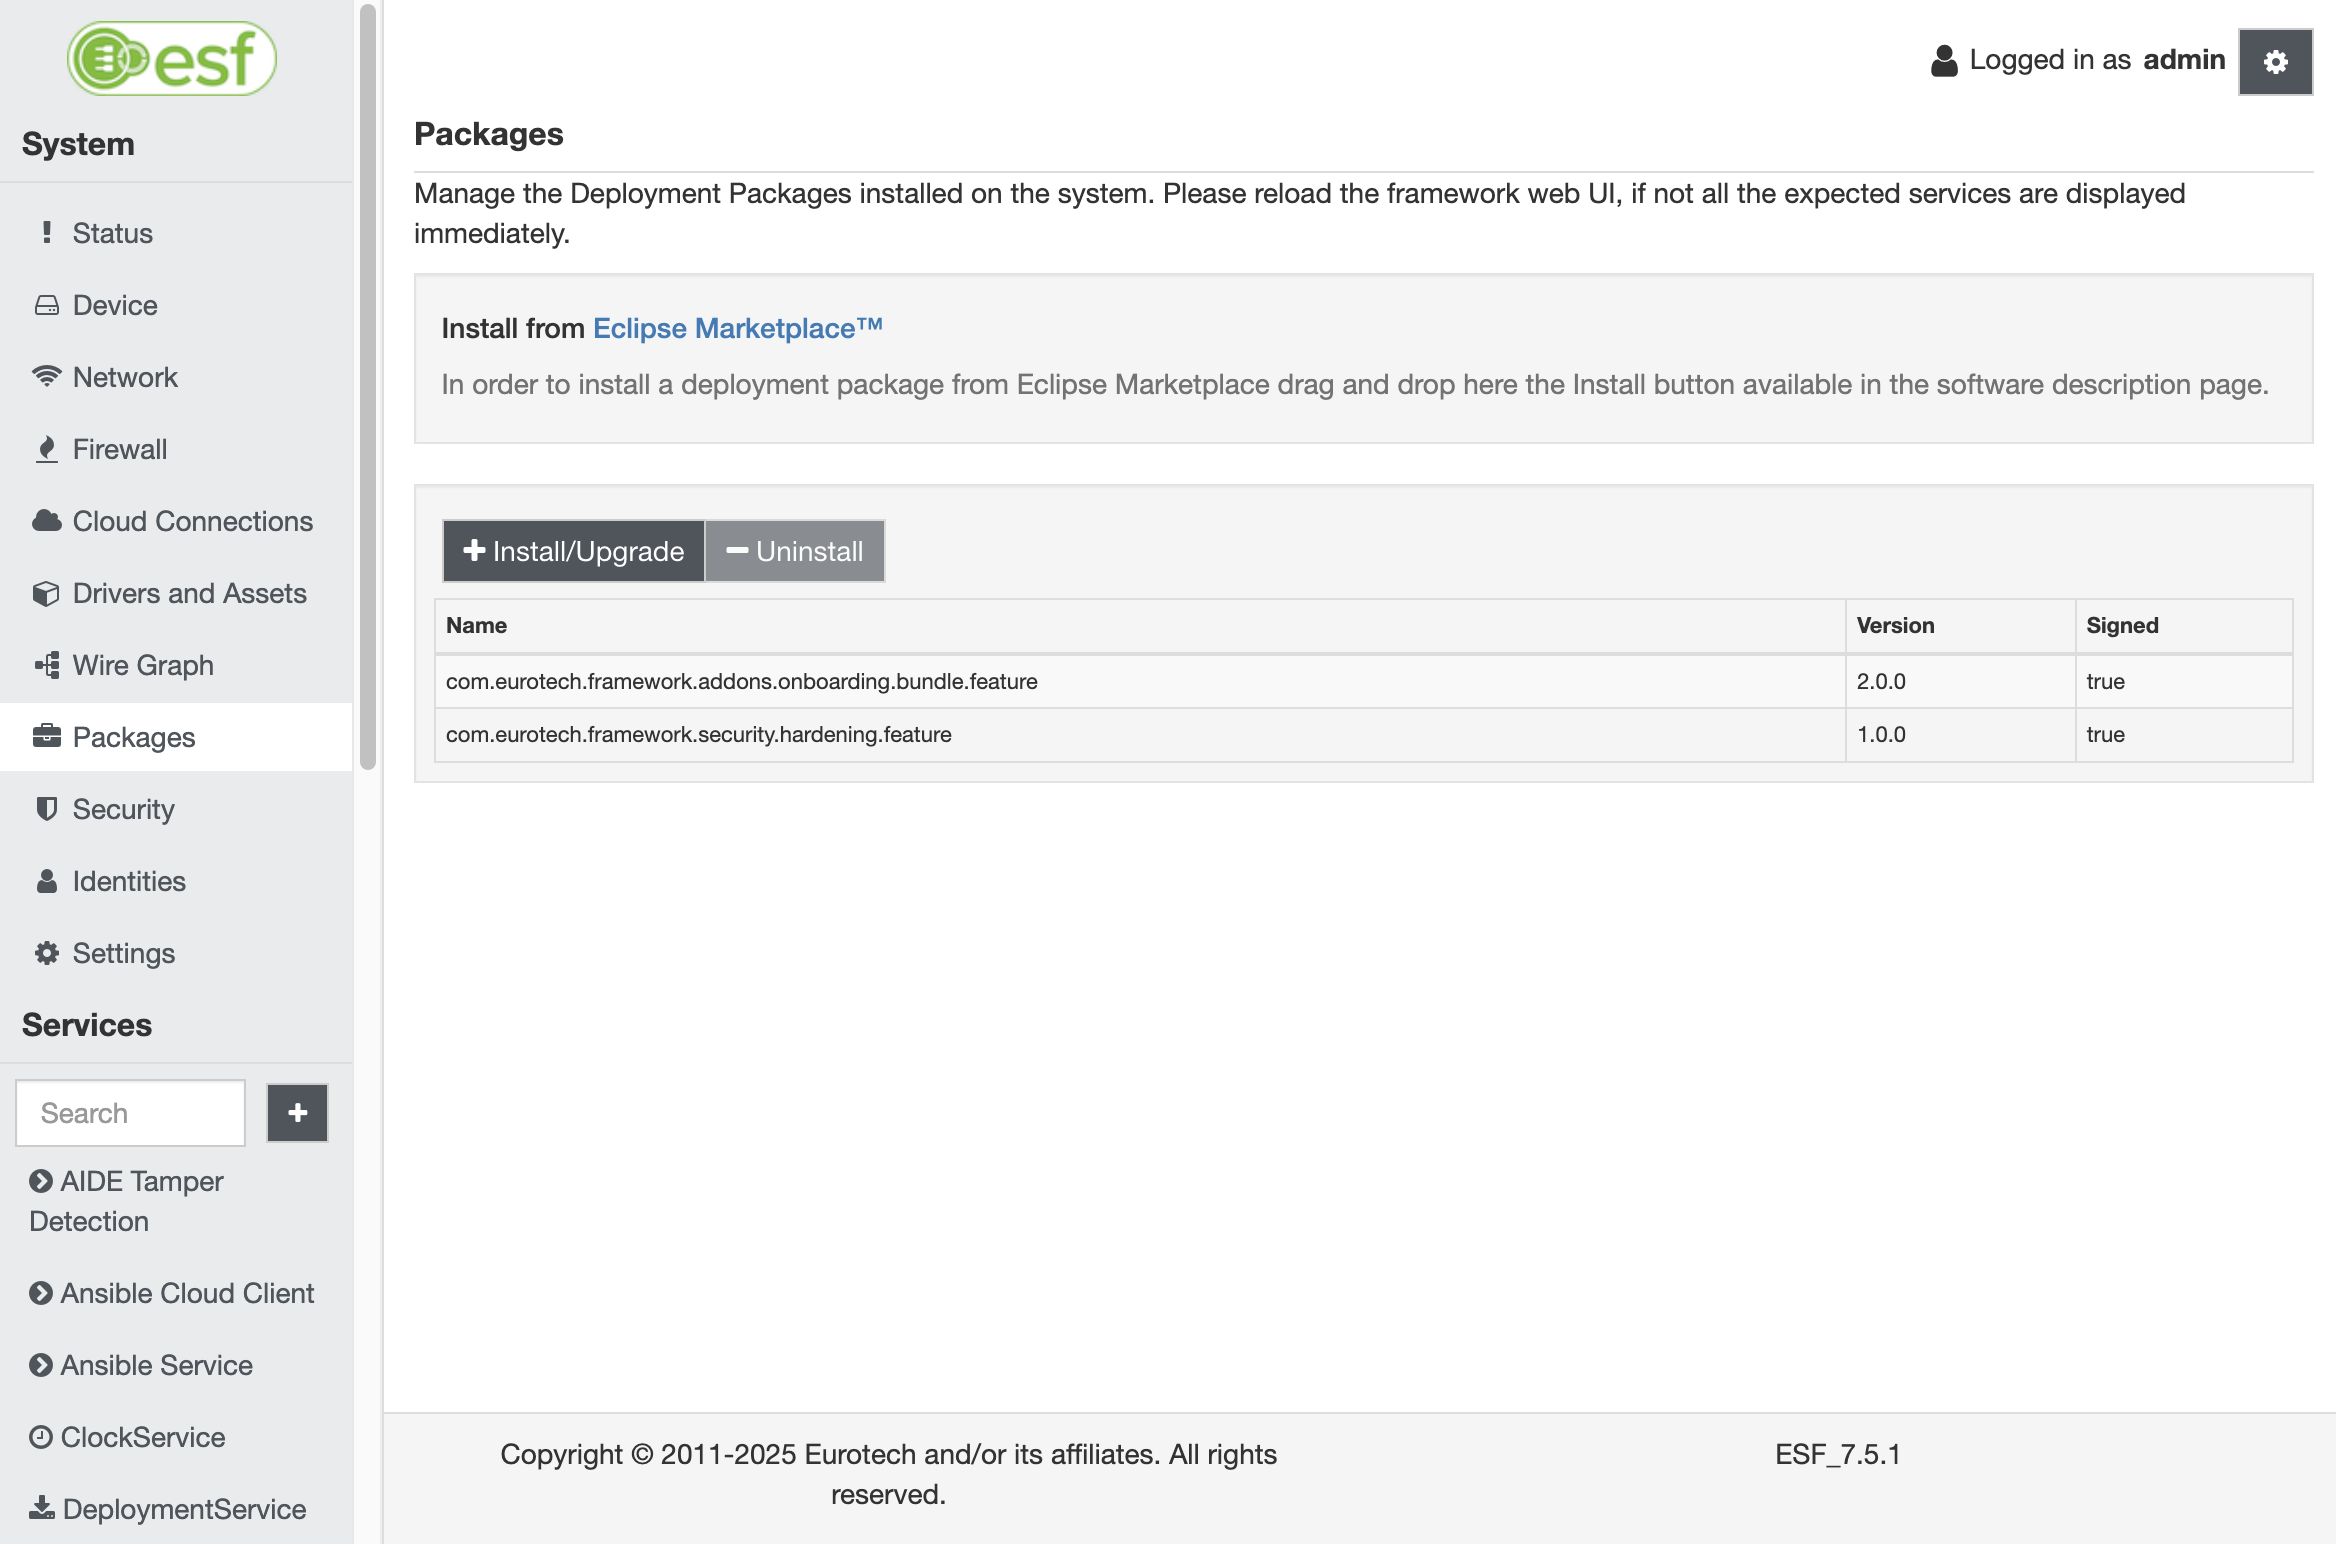
To install the Eurotech Onboarding bundle and Eurotech Hardening feature on a running ESF instance, please refer to the official ESF documentation. After the installation, the ESF packages section will display the newly installed bundles as shown below:
TL;DR
Here's a quick summary of all the configurable onboarding flows and features. The identity used for onboarding must have at least the rest.onboarding permission and Password authentication enabled set to true.
- Entrypoint configuration:
- Security -> Web Console configured with Web Server Entry Point:
/onboarding/index.html
- Security -> Web Console configured with Web Server Entry Point:
- First login with change password
- Identity configured with Require password change at next login:
true
- Identity configured with Require password change at next login:
- Internet configuration
- ESF with networking enabled
- Hardening (SSH service, OS services, ESF)
com.eurotech.framework.security.hardening.featureinstalledOnboardingRestServiceconfigured with Enable hardening process:true
- Hardening (ESF production mode)
com.eurotech.framework.security.hardening.featureinstalledOnboardingRestServiceconfigured with Enable hardening process:true- Identity configured with
rest.securitypermission
- Hardening (ESF and Linux users editing)
com.eurotech.framework.security.hardening.featureinstalledOnboardingRestServiceconfigured with Enable hardening process:true- Identity configured with
rest.identitypermission
- Identity removal at onboarding finish
- Identity configured with
rest.identitypermission will delete the useronboarding
- Identity configured with
- Dev/Prod provisioning endpoint
- Device connected to internet
OnboardingRestServiceconfigured with Provisioning Environment option
- Whitelabeling
- Assets to put in
/opt/eurotech/esf/console/onboarding/logo-header.pnglogin.pnglogo-footer.pnghow-to-wifi.pnghow-to-ethernet.pnghow-to-modem.png
- Assets to put in
Detailed configuration
Setup webserver entry point (optional)
To configure the ESF web server to display the onboarding UI at the gateway URL instead of the ESF administration UI, follow this optional step:
Set the value to /onboarding/index.html in the Web Server Entry Point field located under the Security -> Web Console section.
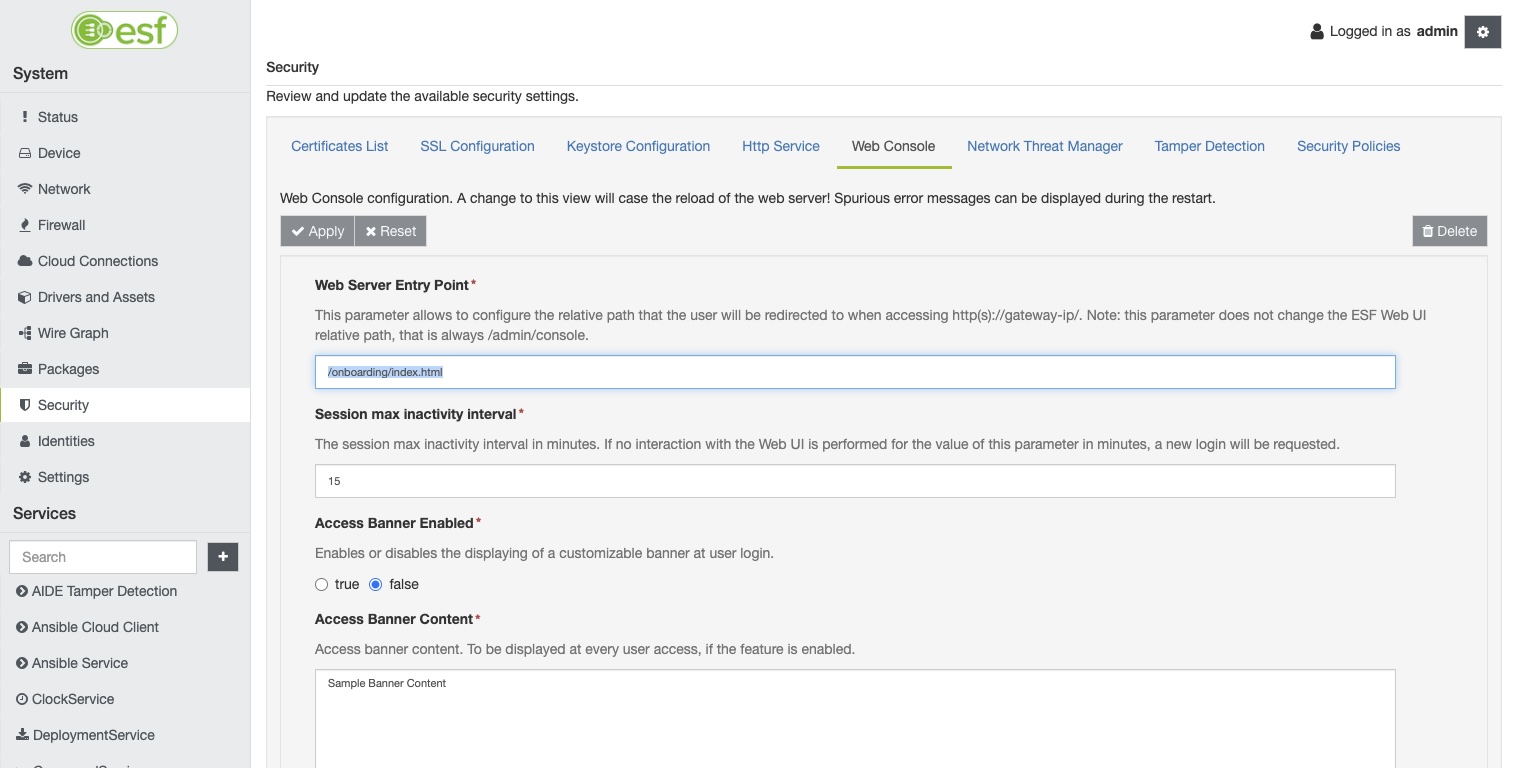
This configuration ensures that users accessing https://<device-ip>/ are automatically redirected to https://<device-ip>/onboarding/index.html instead of https://<device-ip>/admin/console.
Create an onboarding identity (mandatory)
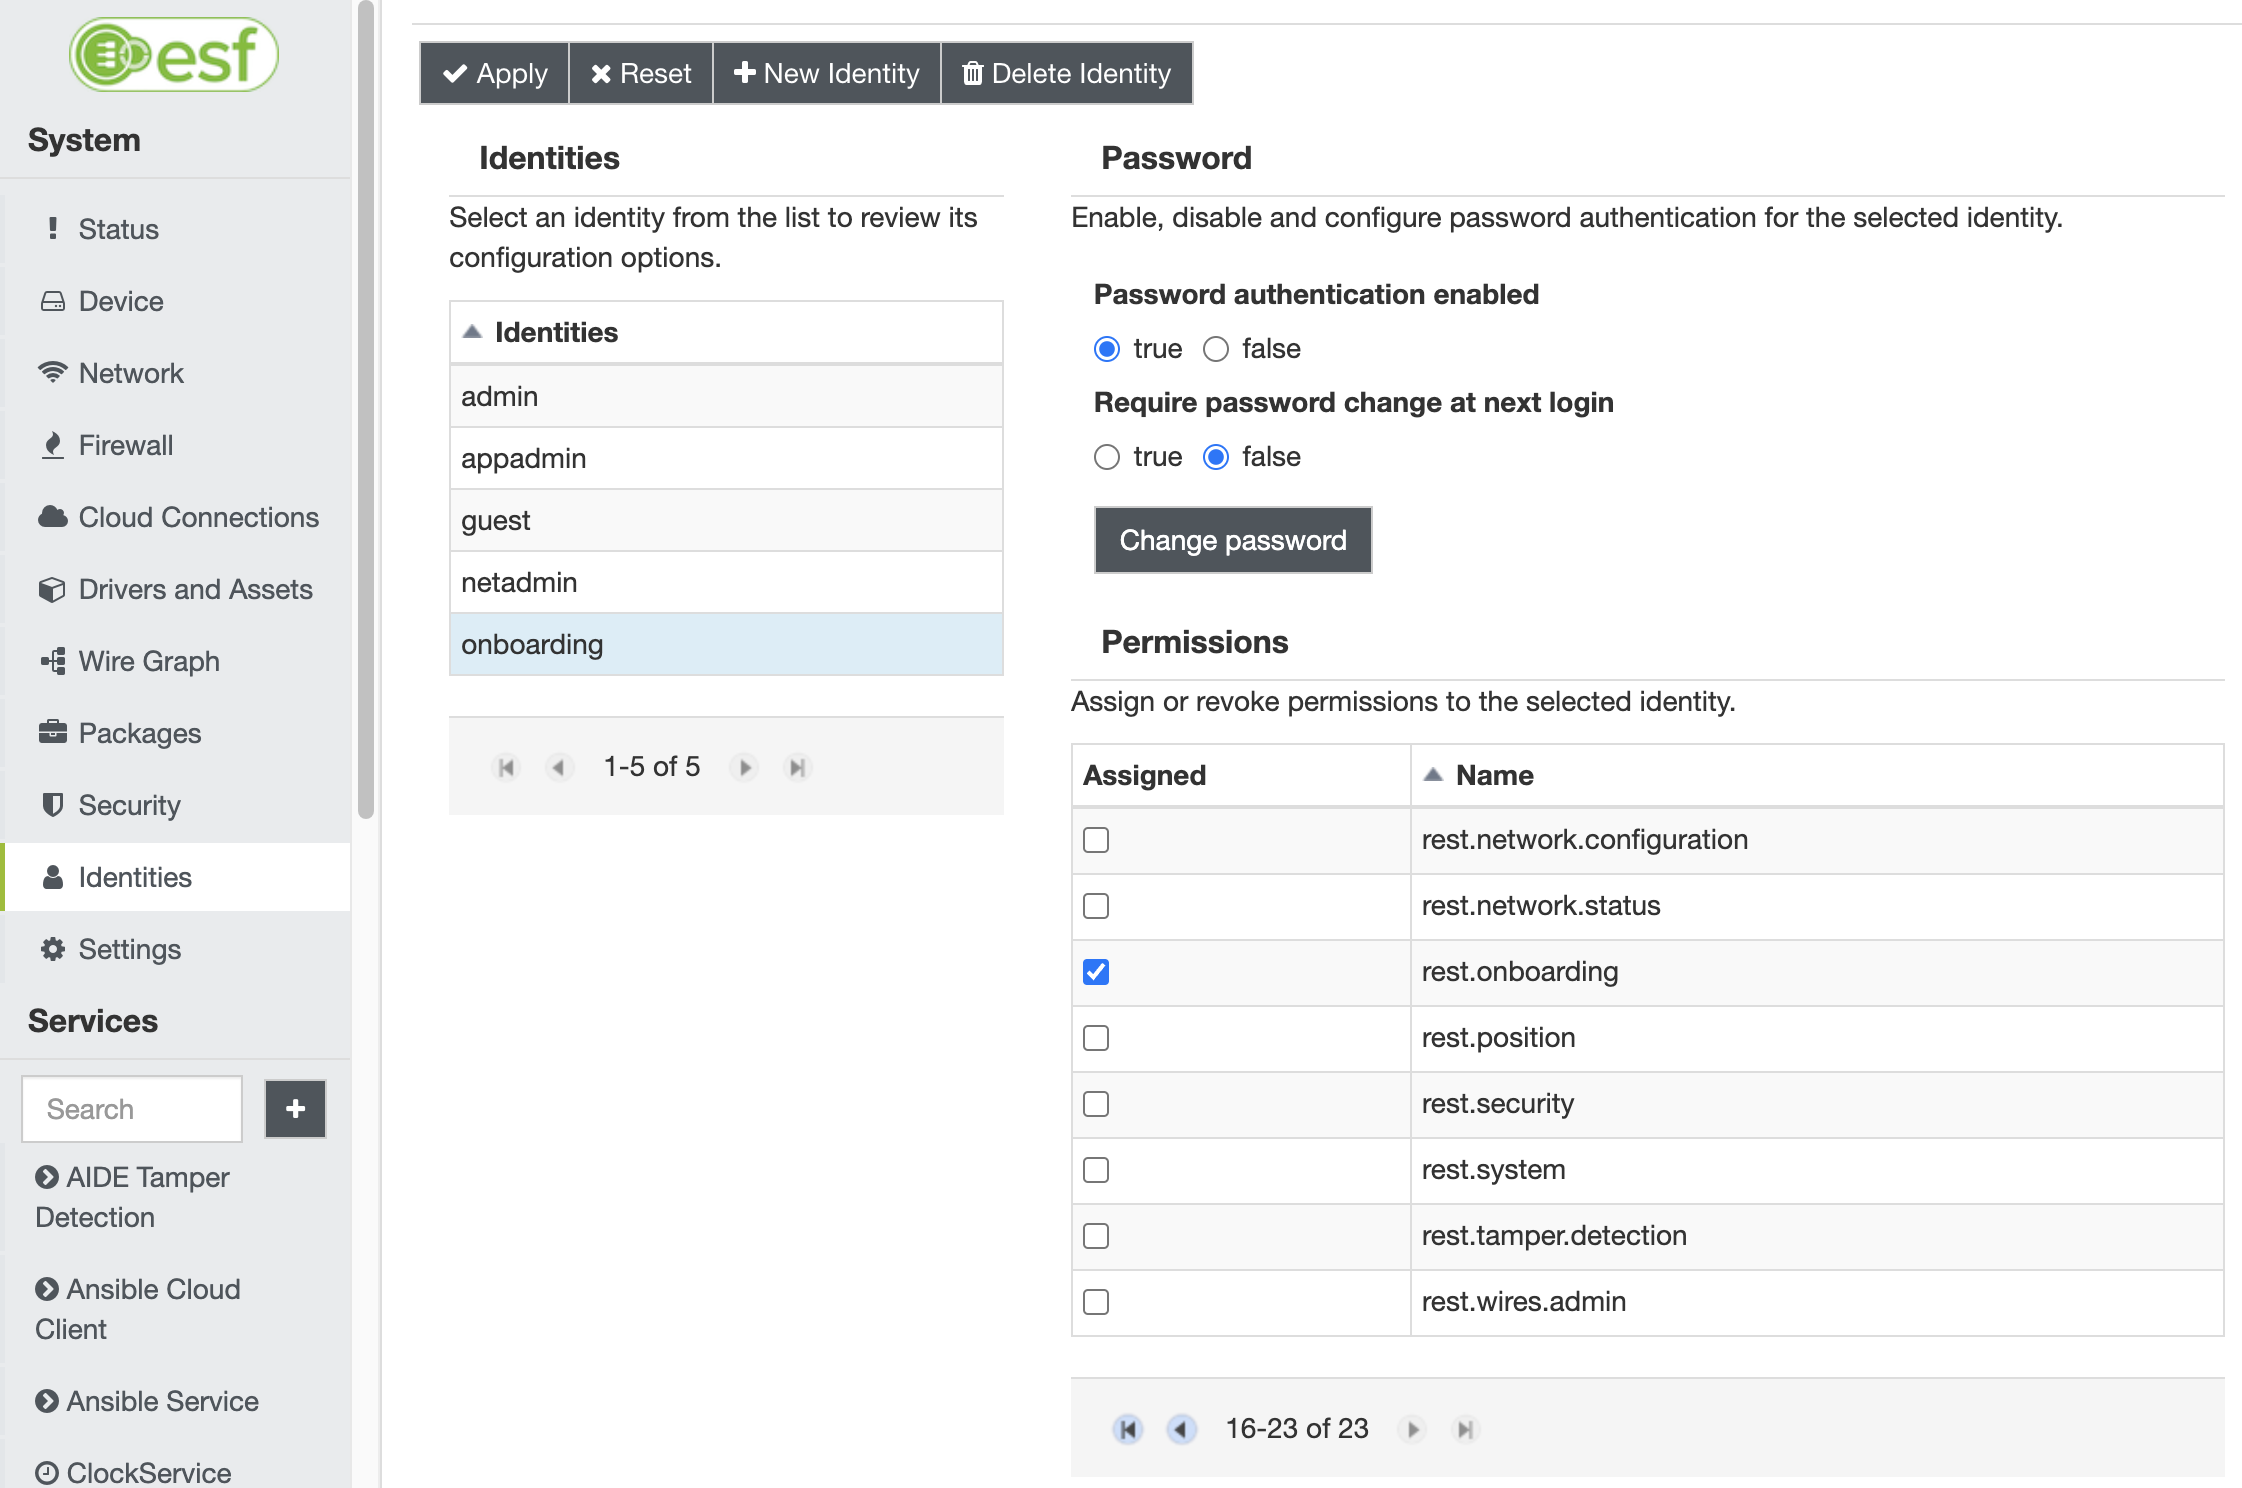
While the onboarding UI is accessible to the administrator user, it is advisable to create a less privileged, dedicated user. Eurotech suggests creating a new identity named onboarding with the following configuration:
- Password authentication enabled: true (set a password for the identity accessing the onboarding UI)
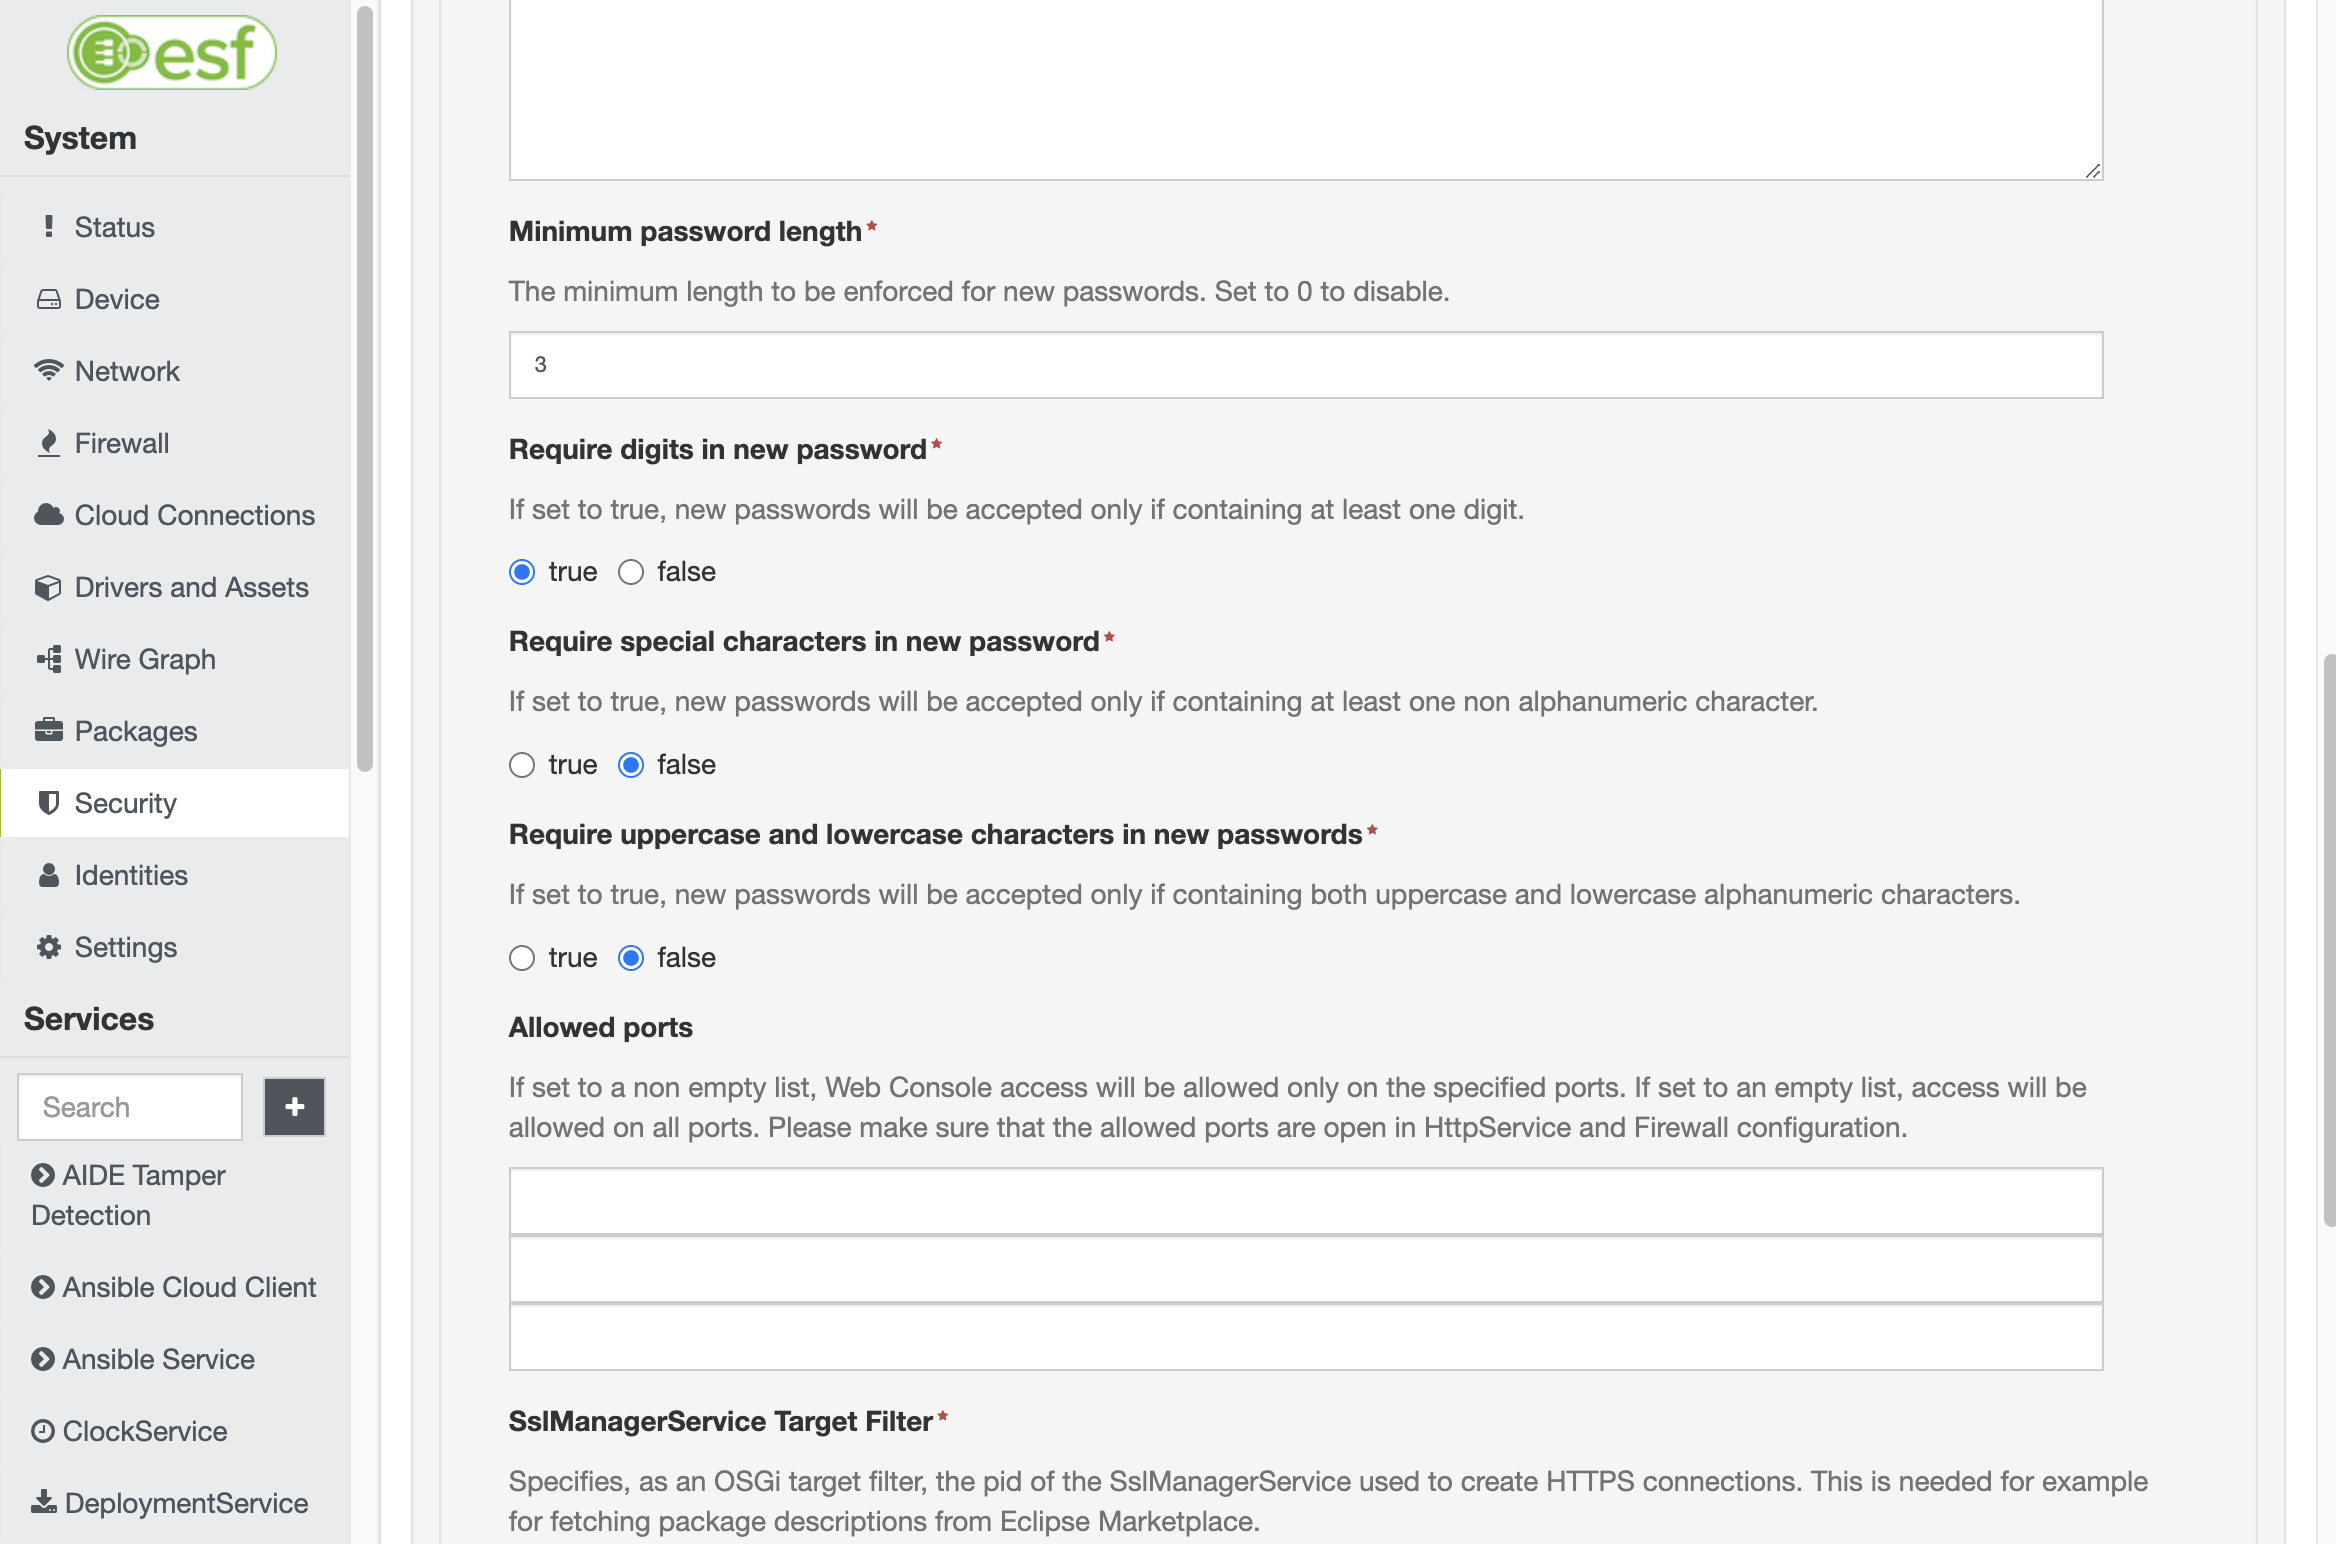
- Require password change at next login: false (if true, the user accessing the onboarding UI will be prompted to change the set password. Password strength requirements can be configured in ESF under Security -> Web Console, as shown below)
The minimum permission that must be assigned is rest.onboarding, which allows the onboarding user to perform networking configuration and provisioning tasks.
Additionally, the following optional permissions can grant the onboarding user the ability to perform security-related tasks:
rest.securitypermission: apply an ESF security policy and switch to production moderest.identitypermission: create, delete, or modify ESF identities and Linux users. This permission also allows the deletion of the user named onboarding (if it exists) once the process is complete
Configure device hardening (optional)
This addon can also guide the user through various hardening operations, including:
- Configuring the SSH service and login banner
- Enabling or disabling Linux services (such as Bluetooth, avahi-daemon, and Docker)
- Configuring various ESF components: fail2ban, flooding protection, AIDE protection, FSS, container orchestration service, Clock Service (Chrony with NTS support)
- Configuring ESF and Linux users
With the appropriate permissions granted and the com.eurotech.framework.security.hardening.feature DP installed, the logged user can perform the following additional actions:
rest.securitypermission: apply an ESF security policy and switch to production moderest.identitypermission: create, delete, or modify ESF identities and Linux users
The hardening process can be initiated directly from the factory or through the provisioning process, removing the need for any further action from the installer.
To skip the hardening process, disable the Enable hardening process option from the ESF web UI.
Configure the ESF OnboardingRestService (optional)
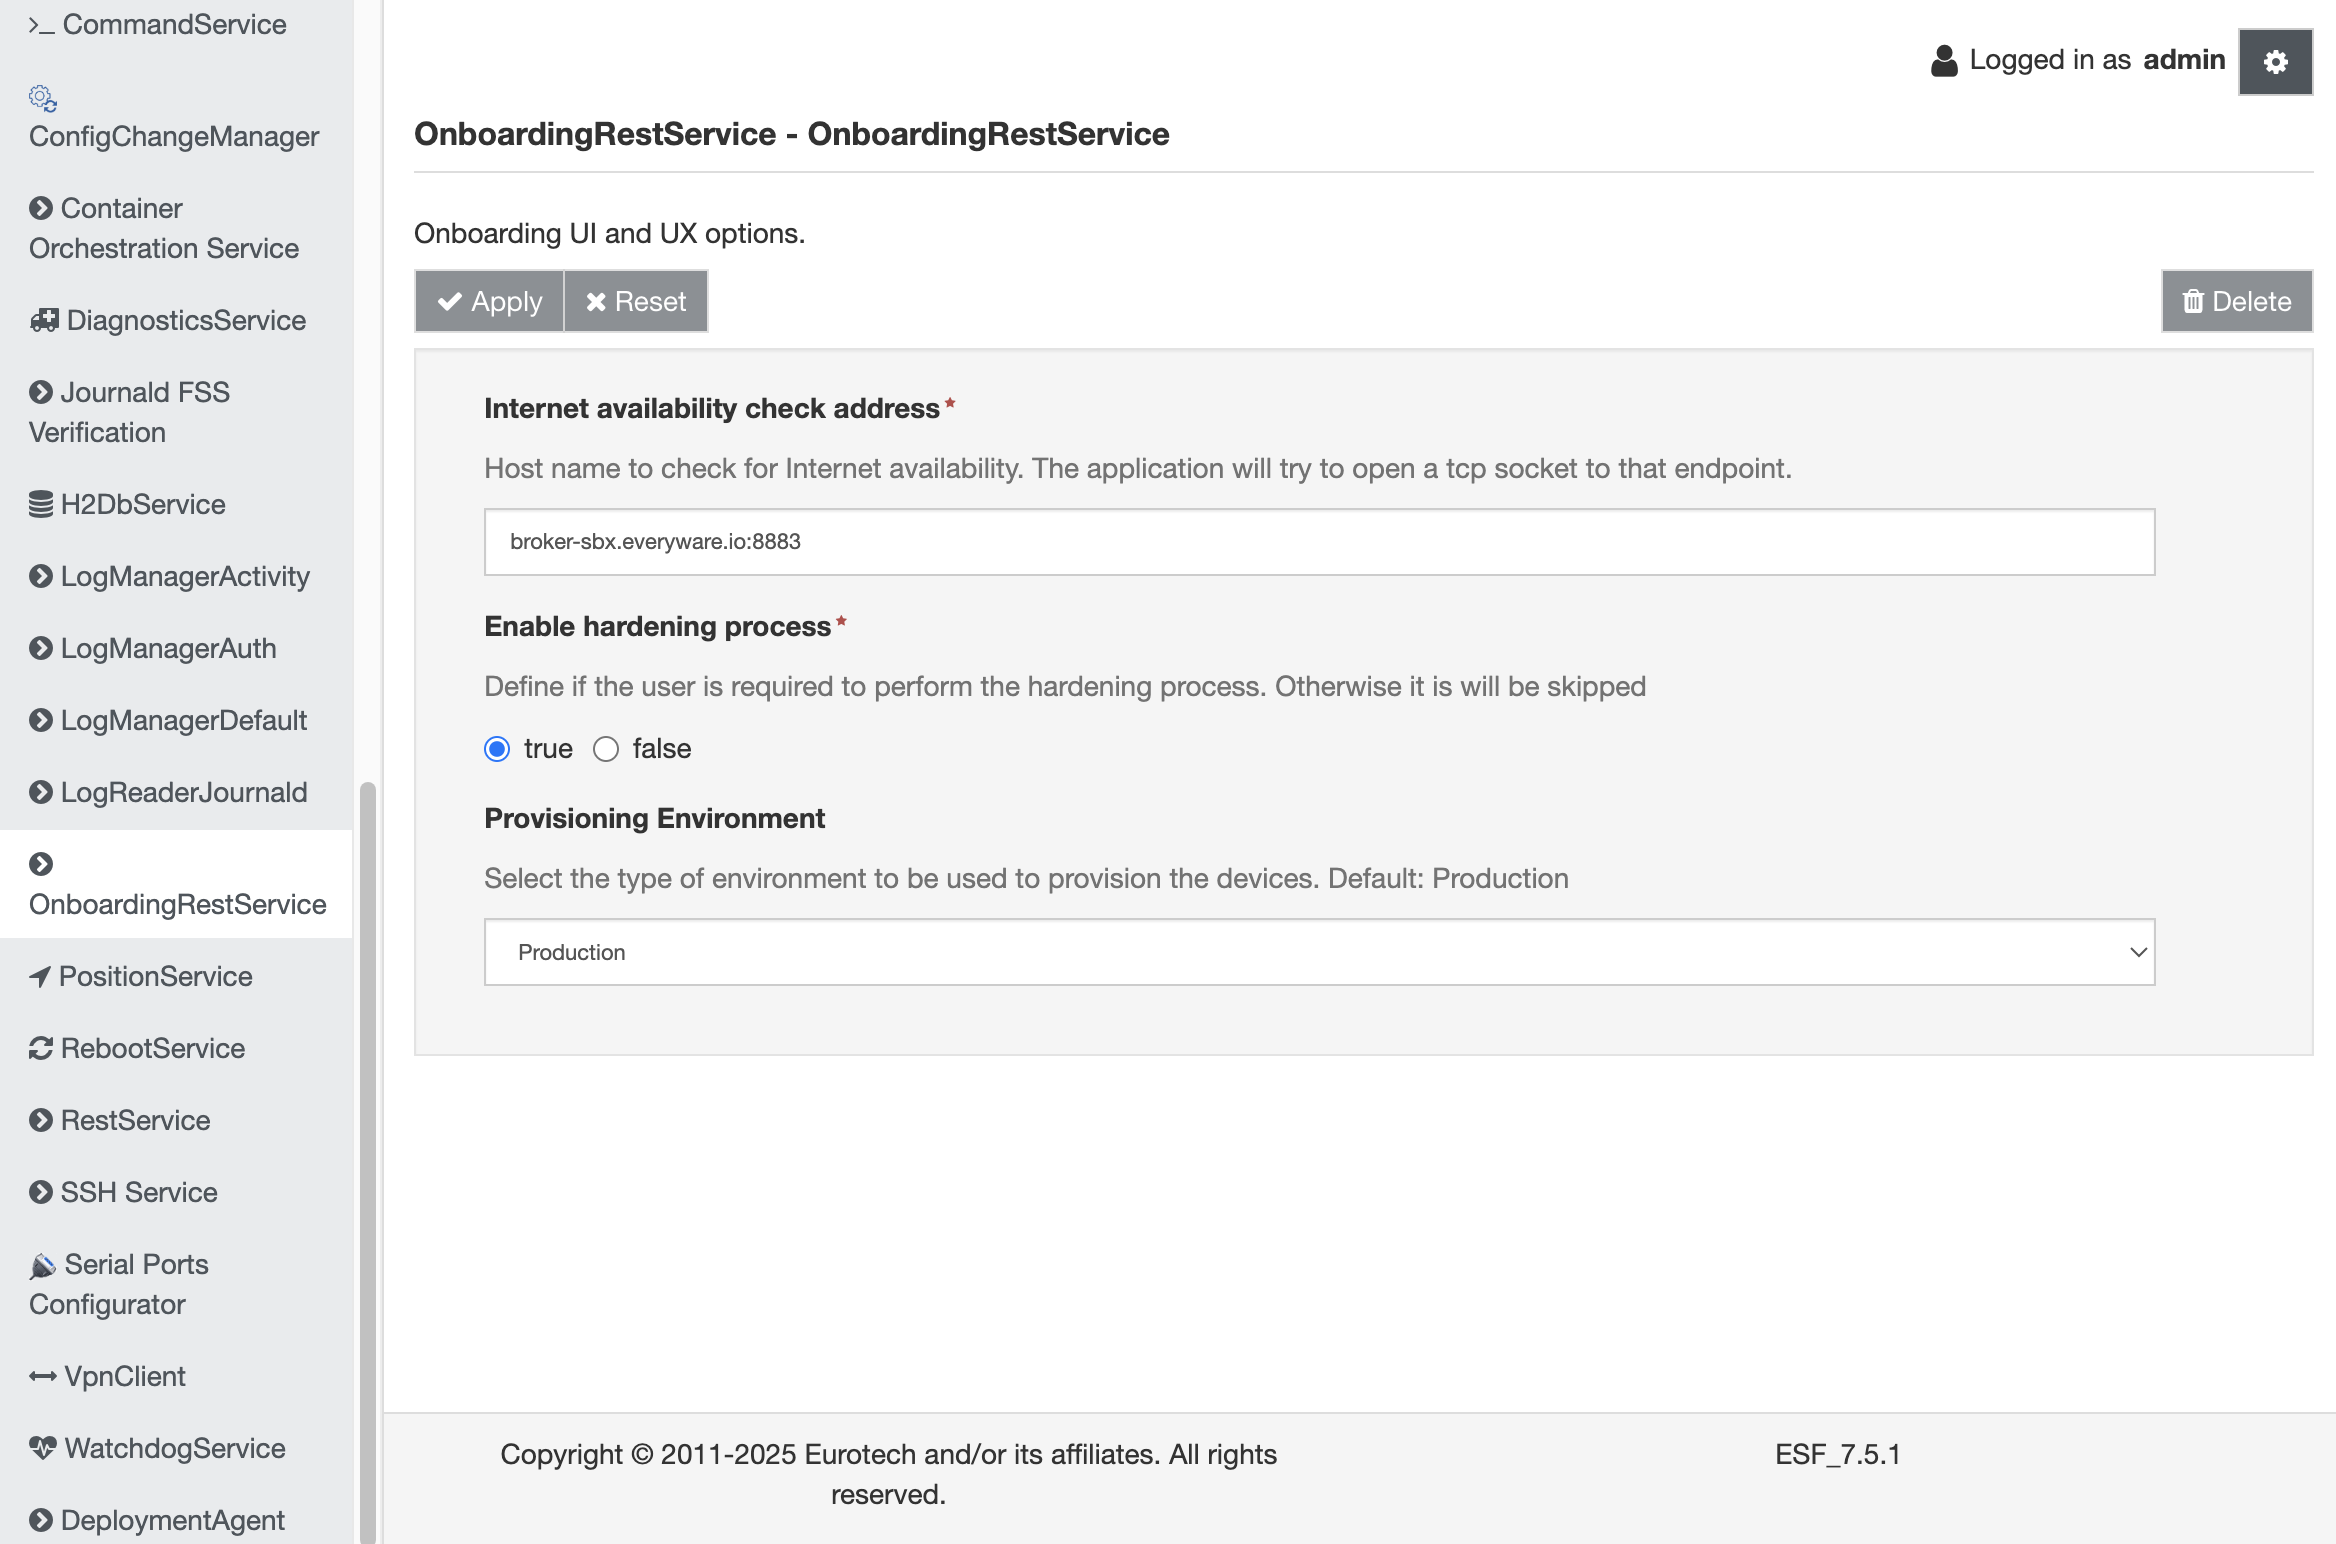
You can configure the onboarding UI from the ESF console by accessing the OnboardingRestService under the Services list in the left menu.
- Internet availability check addess: define a specific address that the device will use to check internet connectivity
- Enable hardening process: allows hiding the Everyware security menu, which can be useful for skipping the hardening process even if
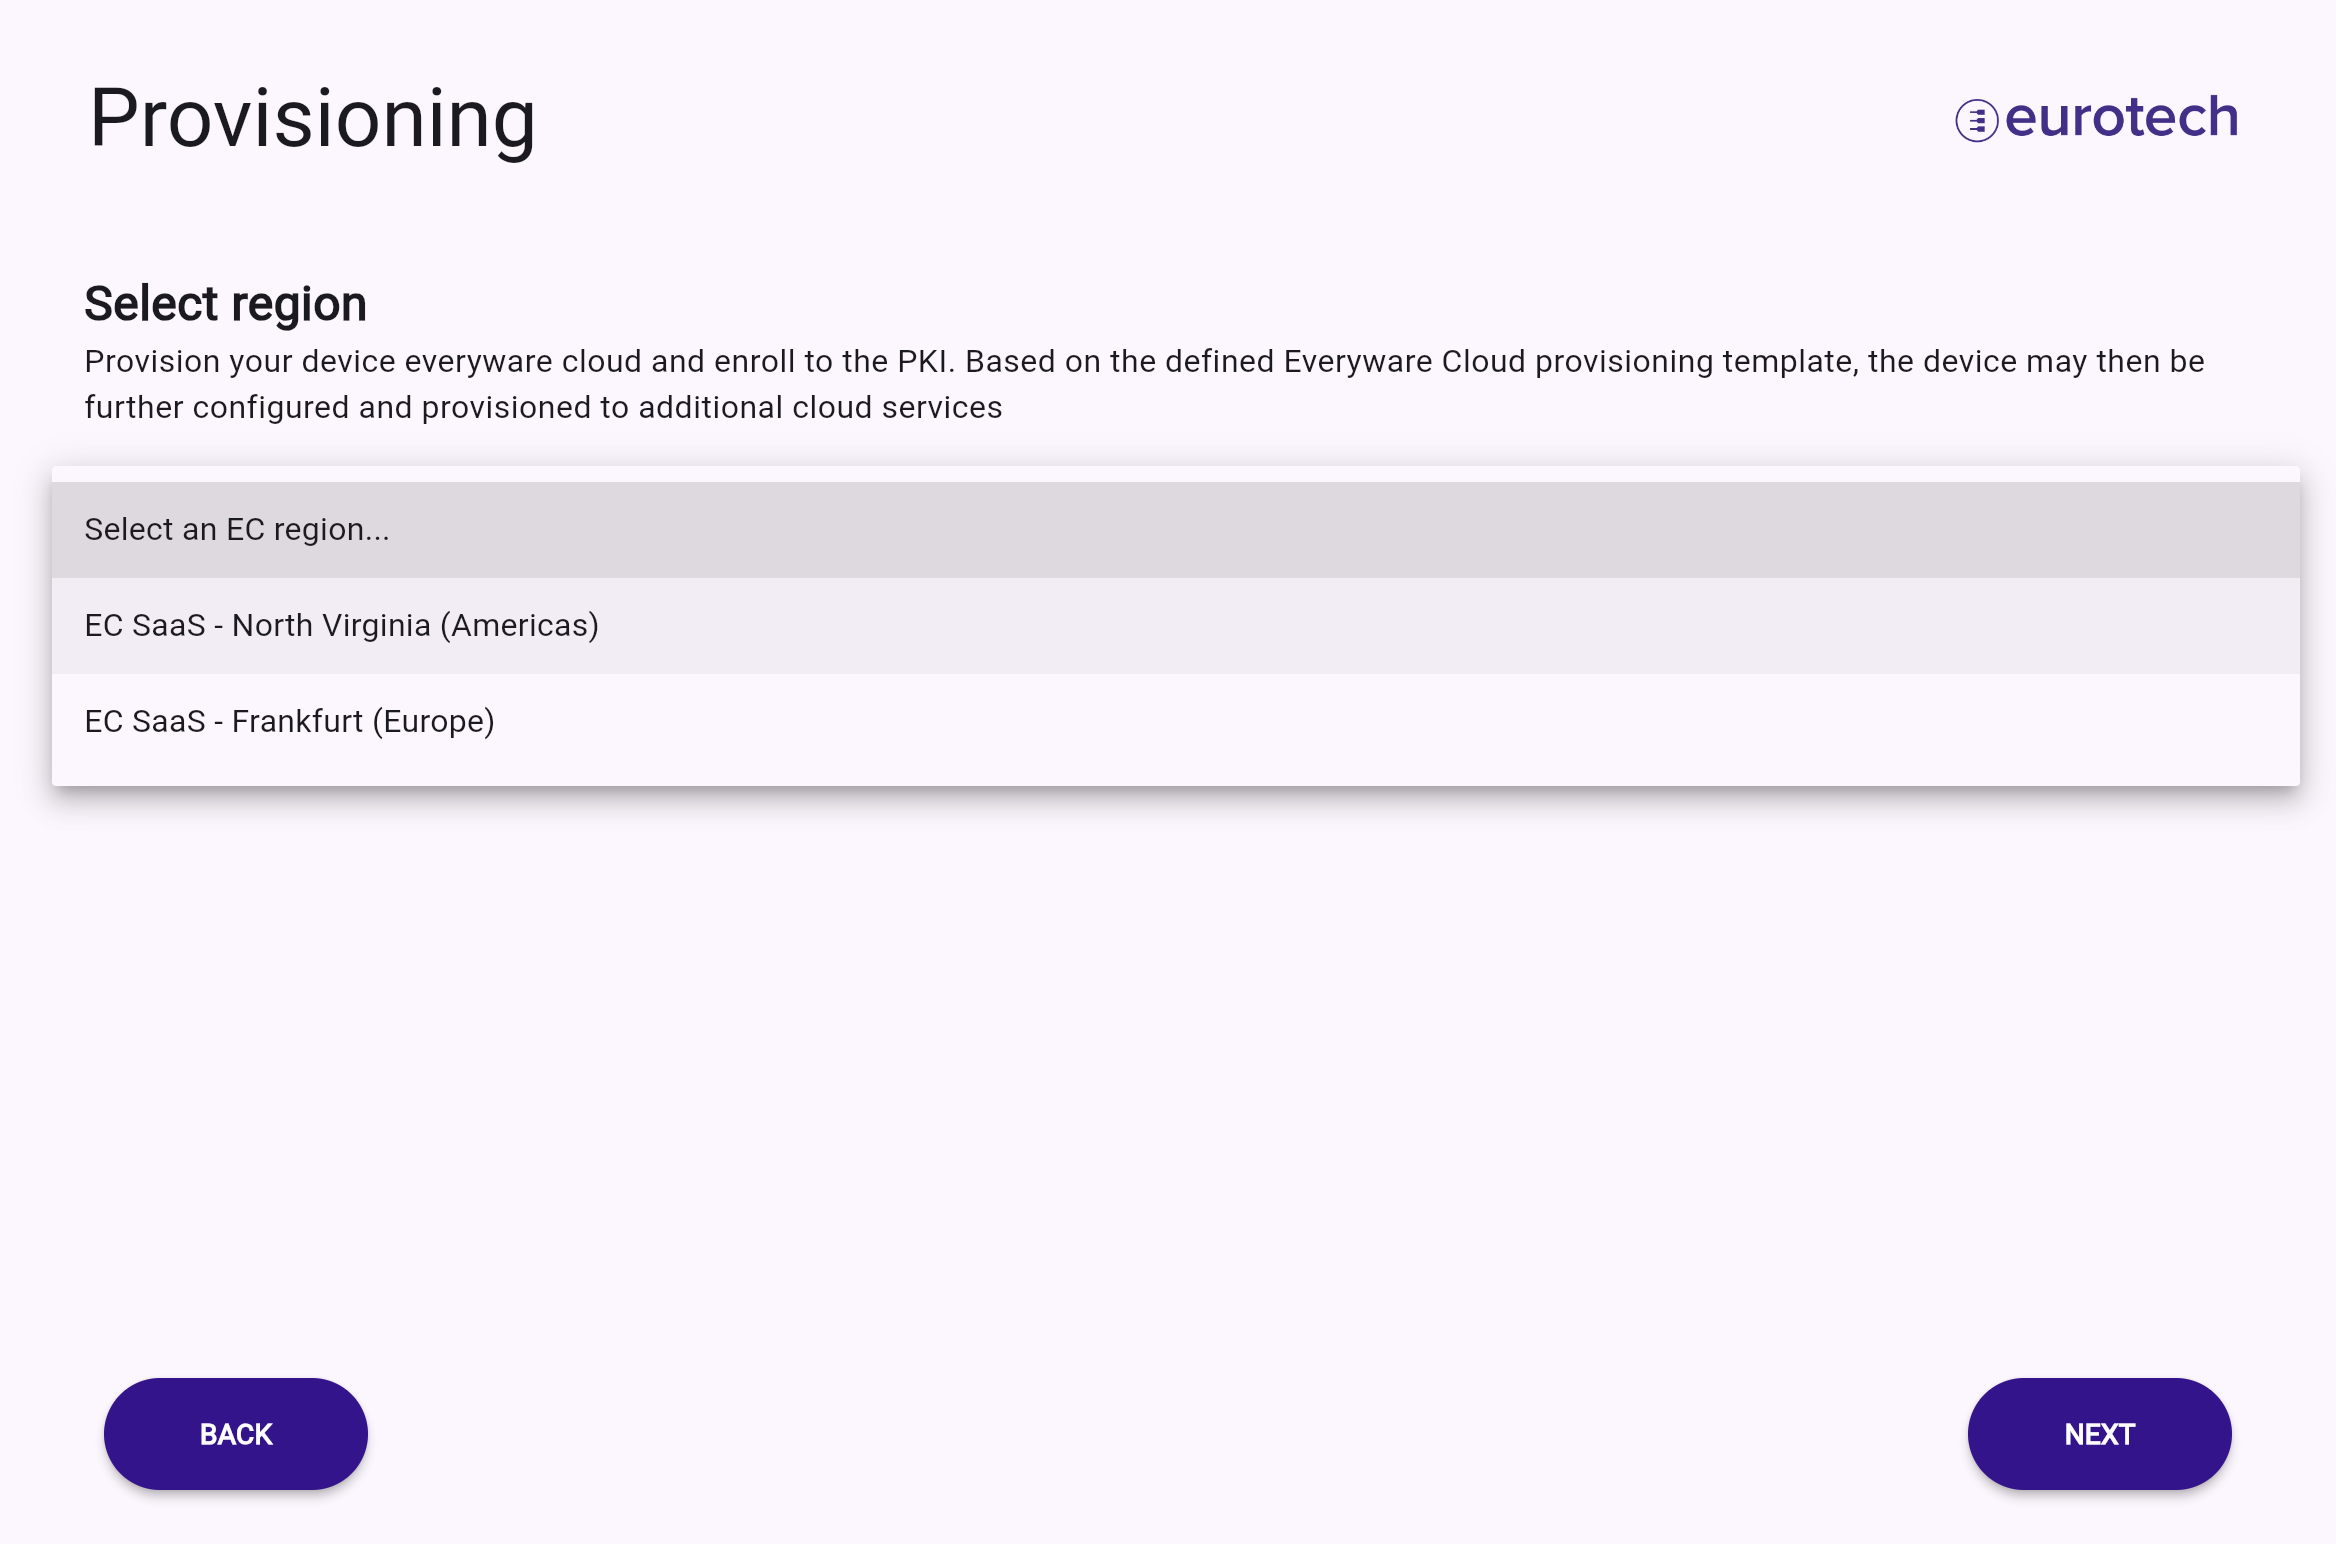
com.eurotech.framework.security.hardening.featureis installed - Provisioning Environment: restrict the onboarding UI to display only the endpoints related to the selected environment, either Everyware Cloud production (default) or development. The active endpoint will be clearly indicated during the provisioning process, as illustrated below
Whitelabeling (optional)
By default, the UI screens use images for the ReliaGATE 10-14 and the Eurotech logo. You can customize these assets by adding the following .png files to /opt/eurotech/esf/console/onboarding/:
logo-header.png: image positioned in the top right of each screen, see below for reference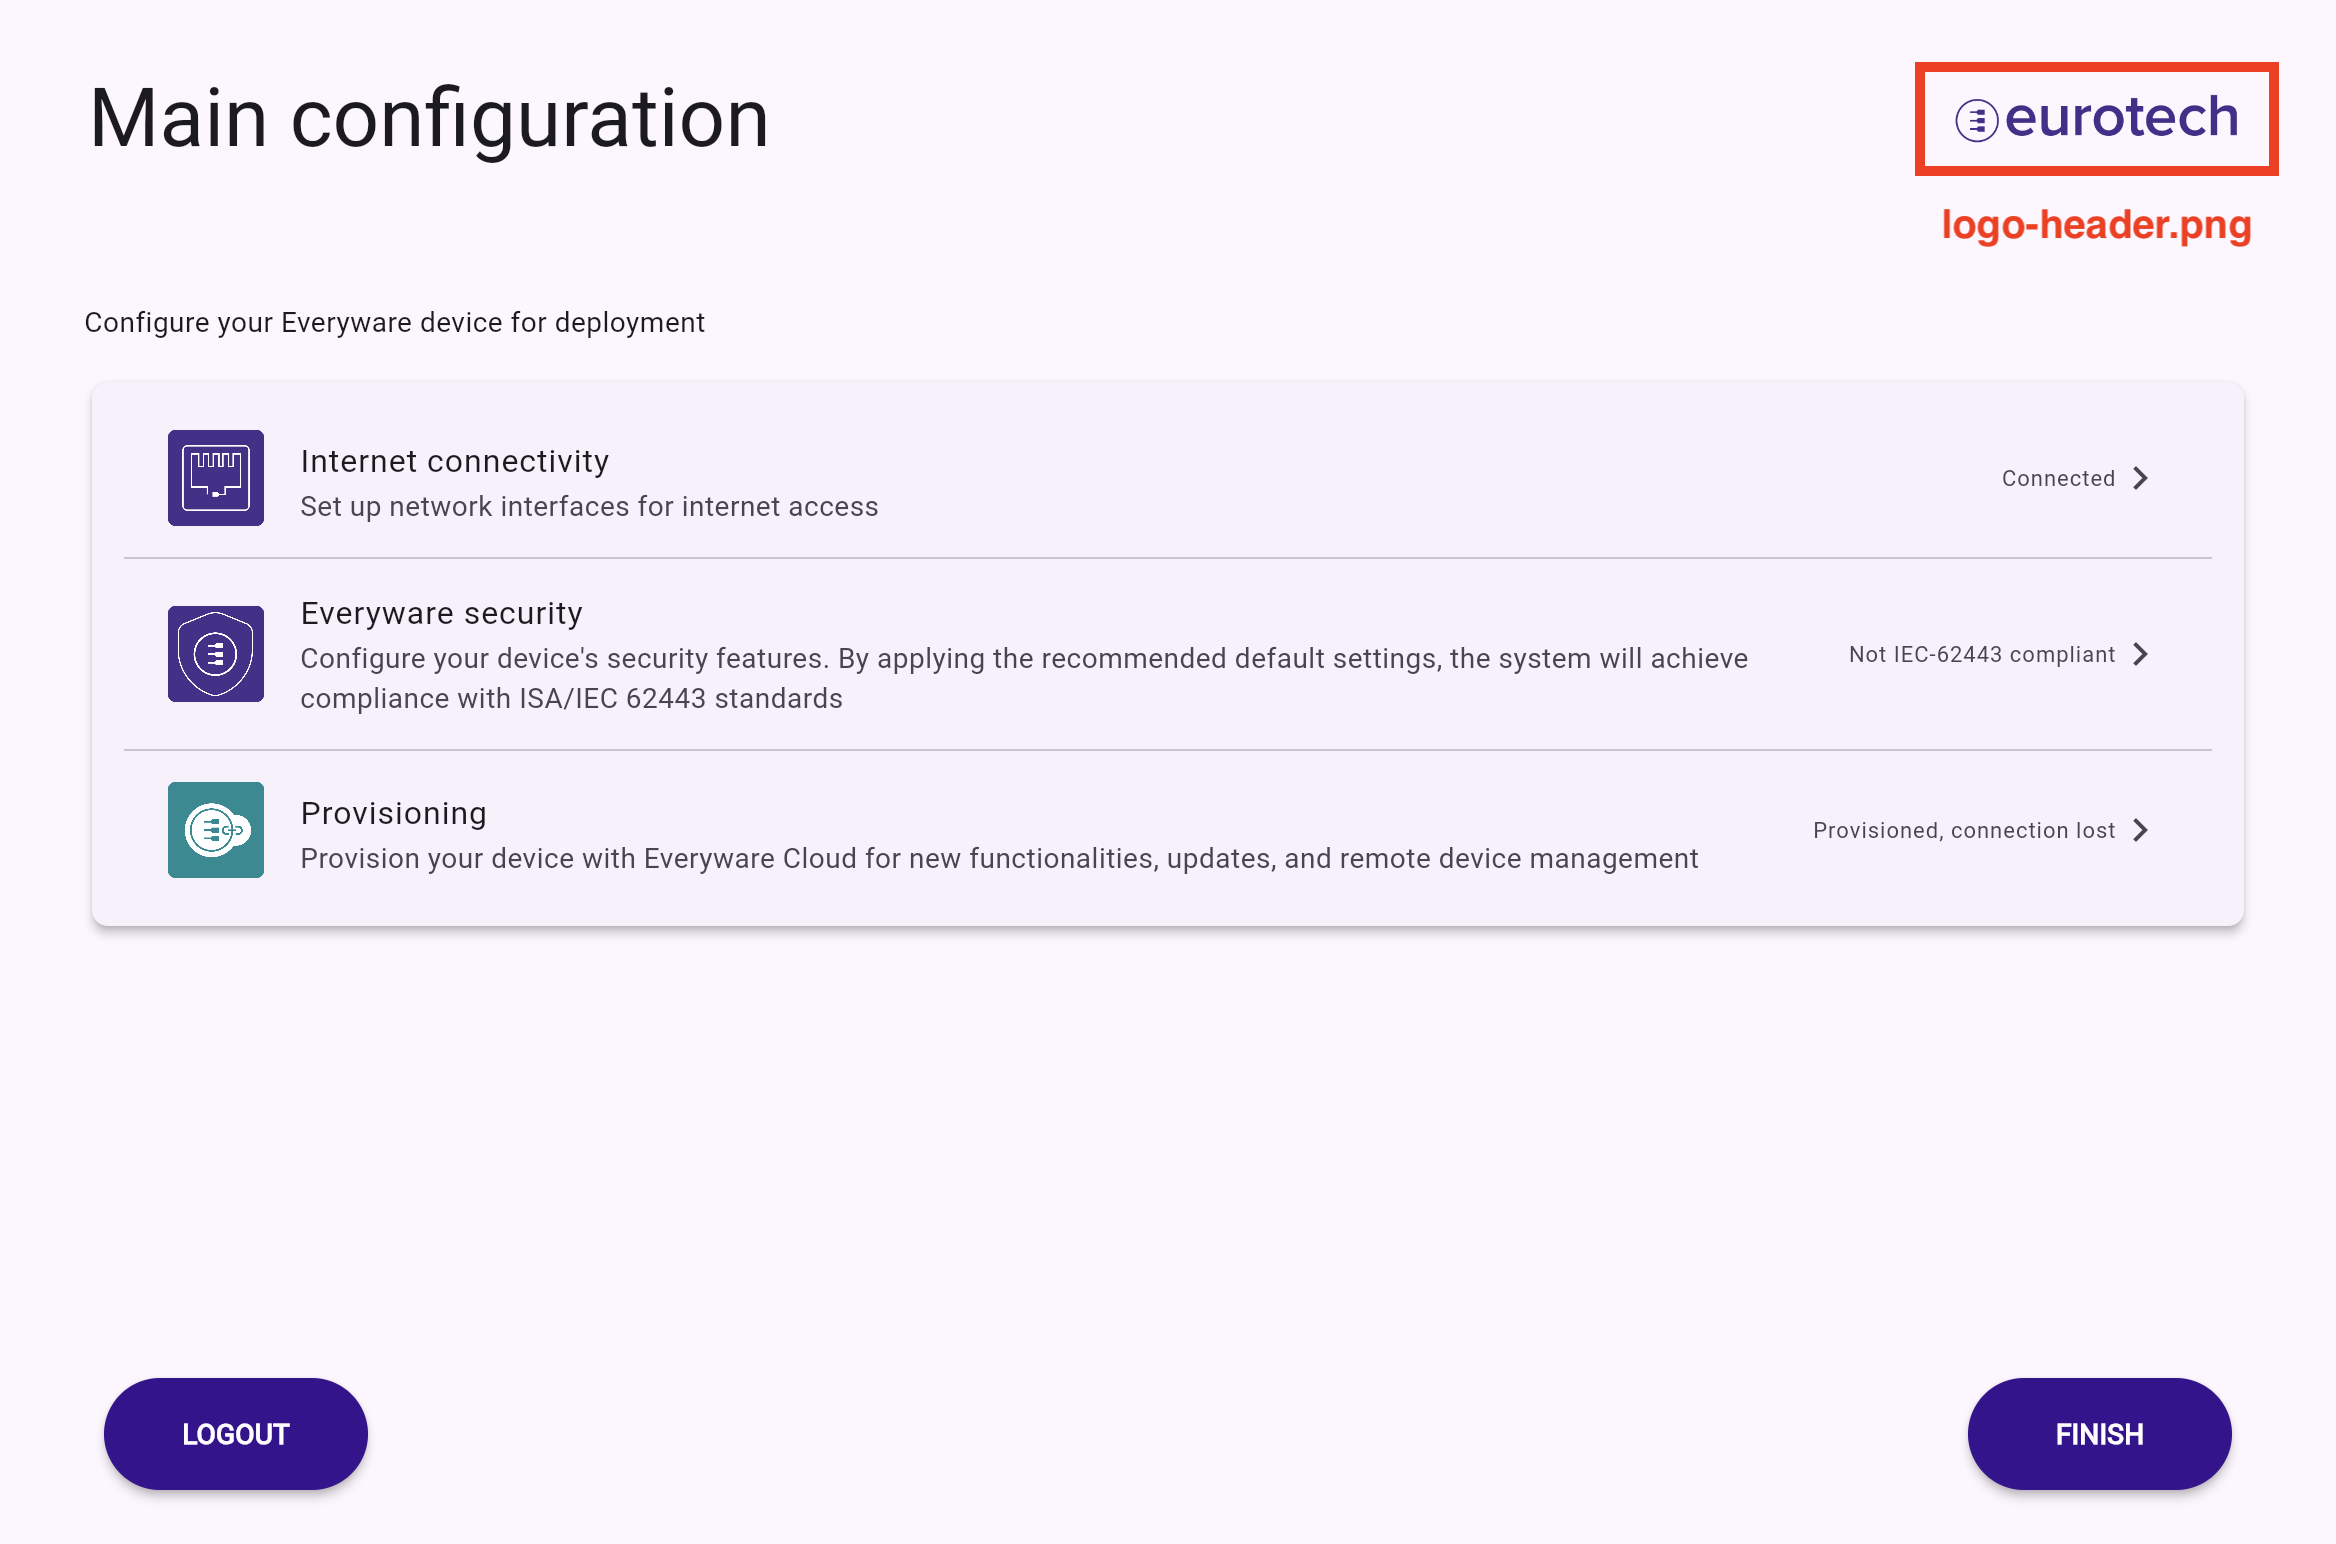
logo-login.png: image positioned at the top center of the left section in the login page, see below for reference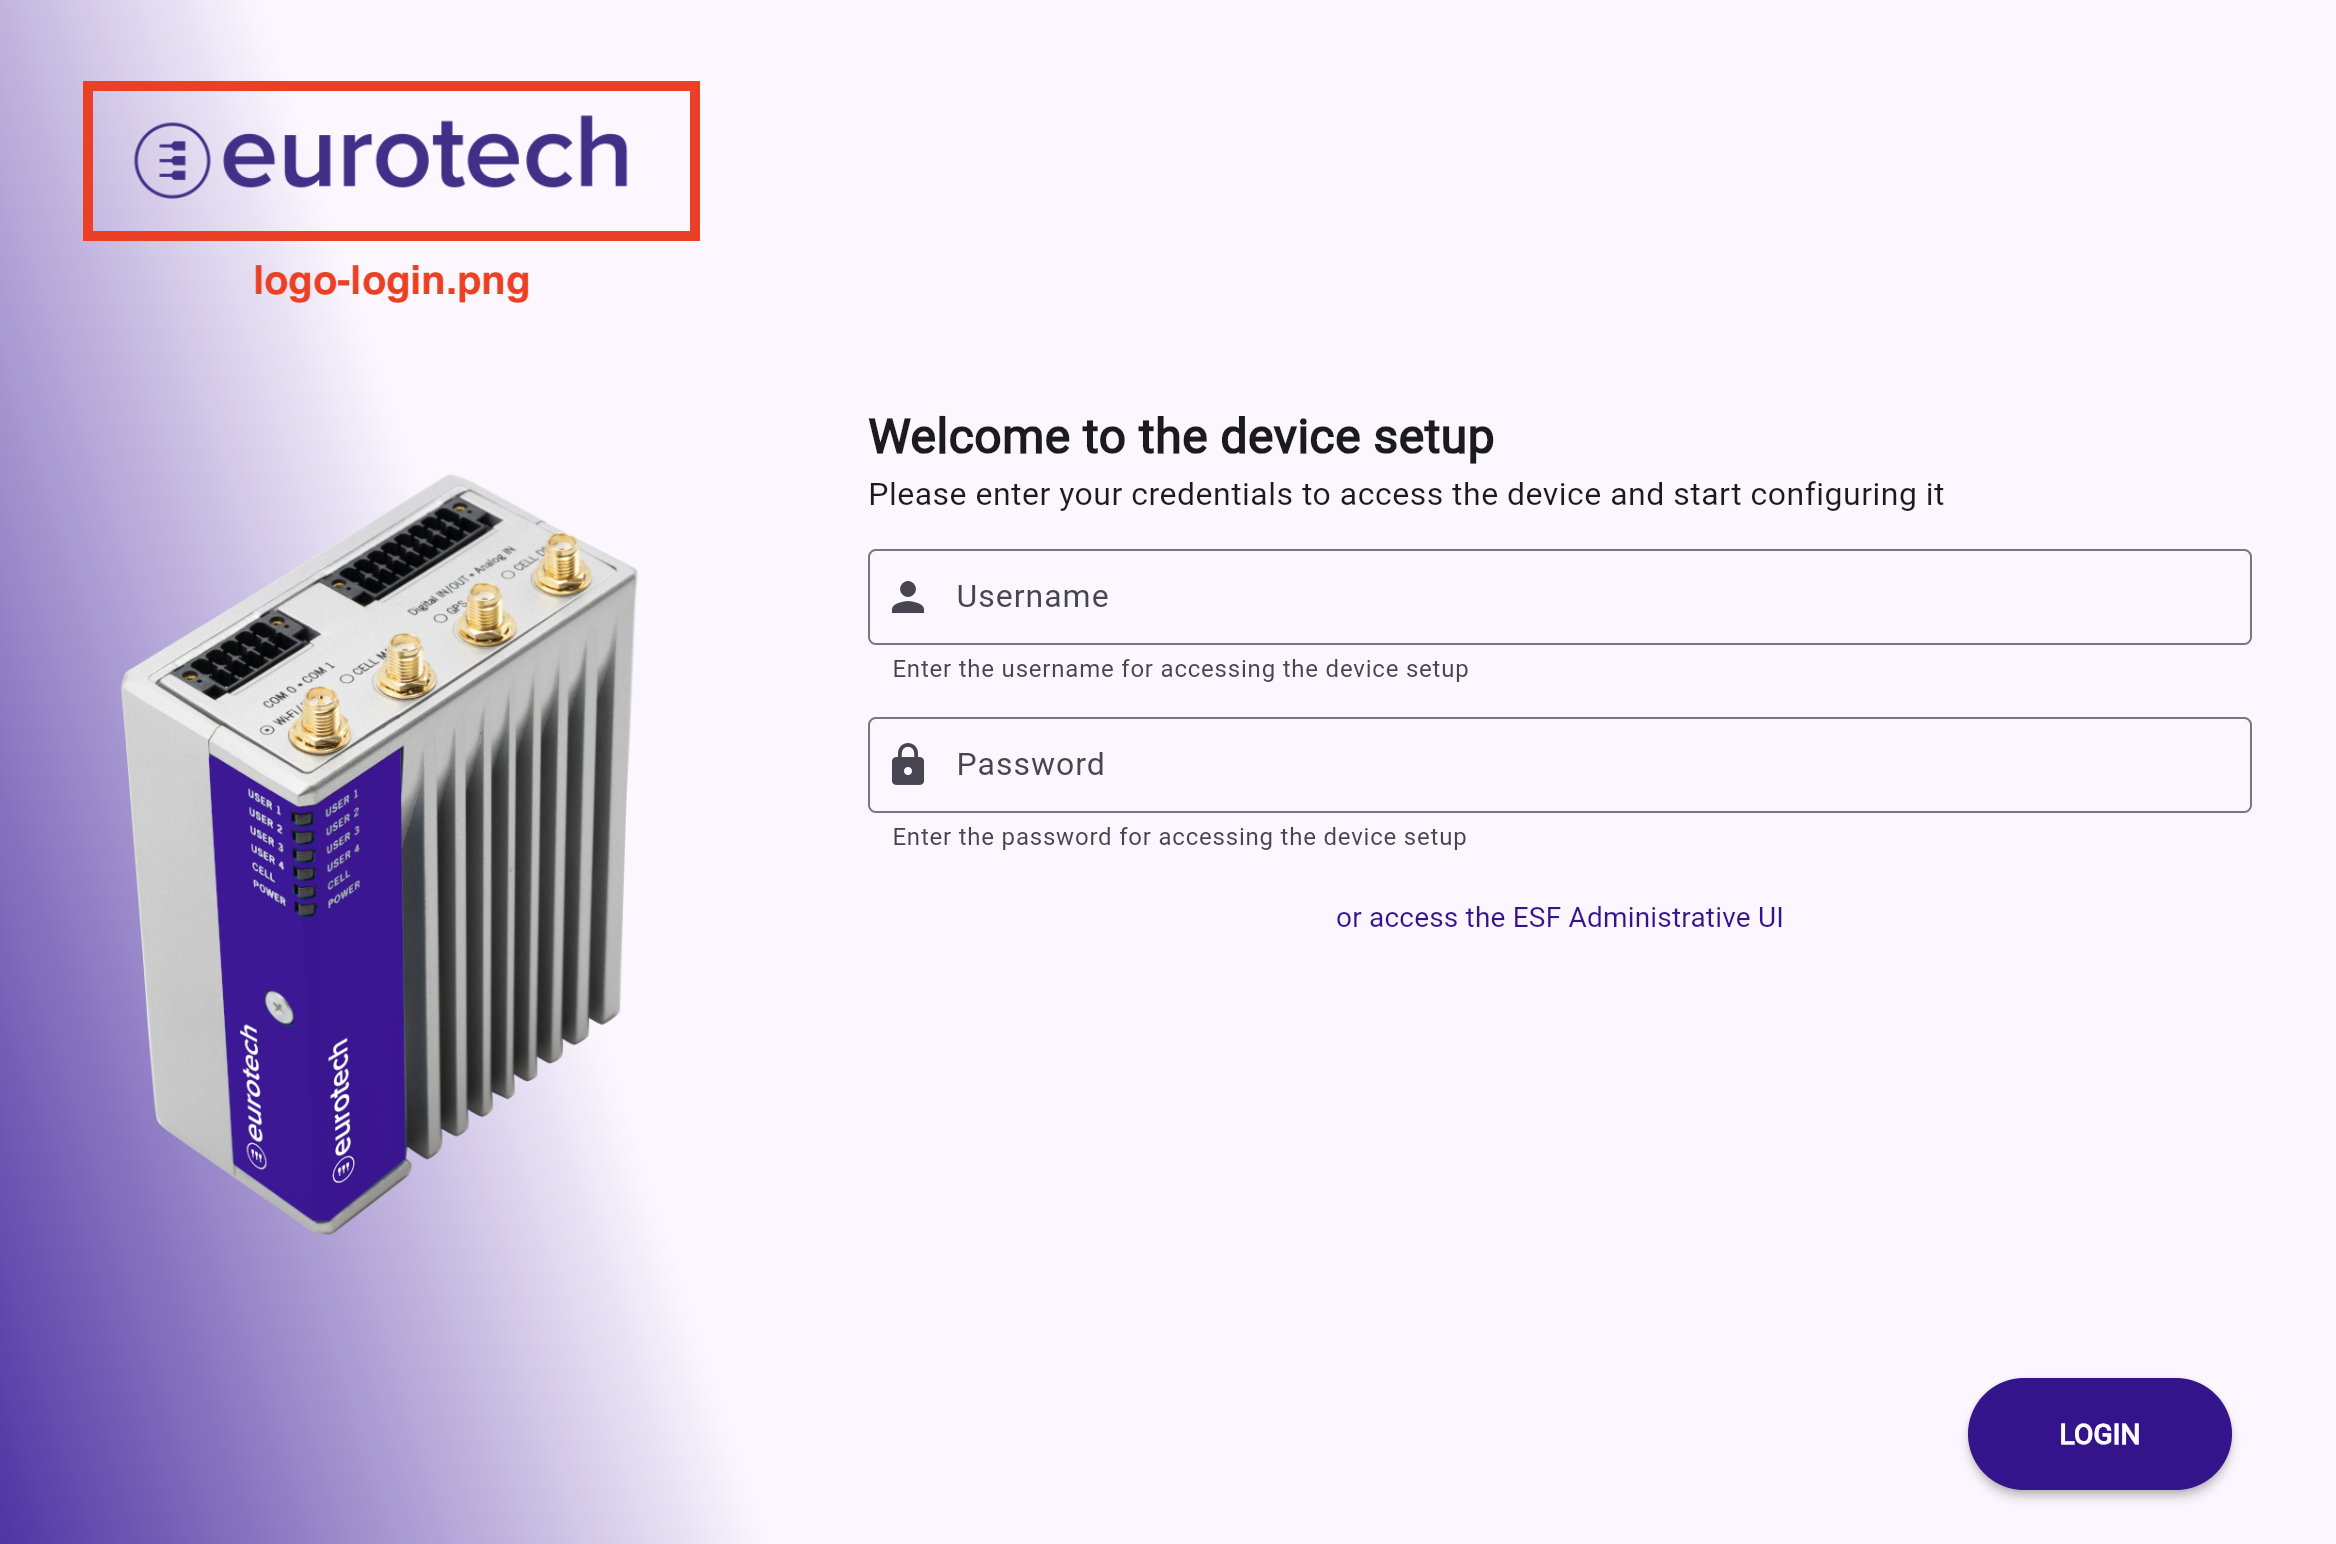
login.png: image positioned in the center of the left section of the screen, see below for reference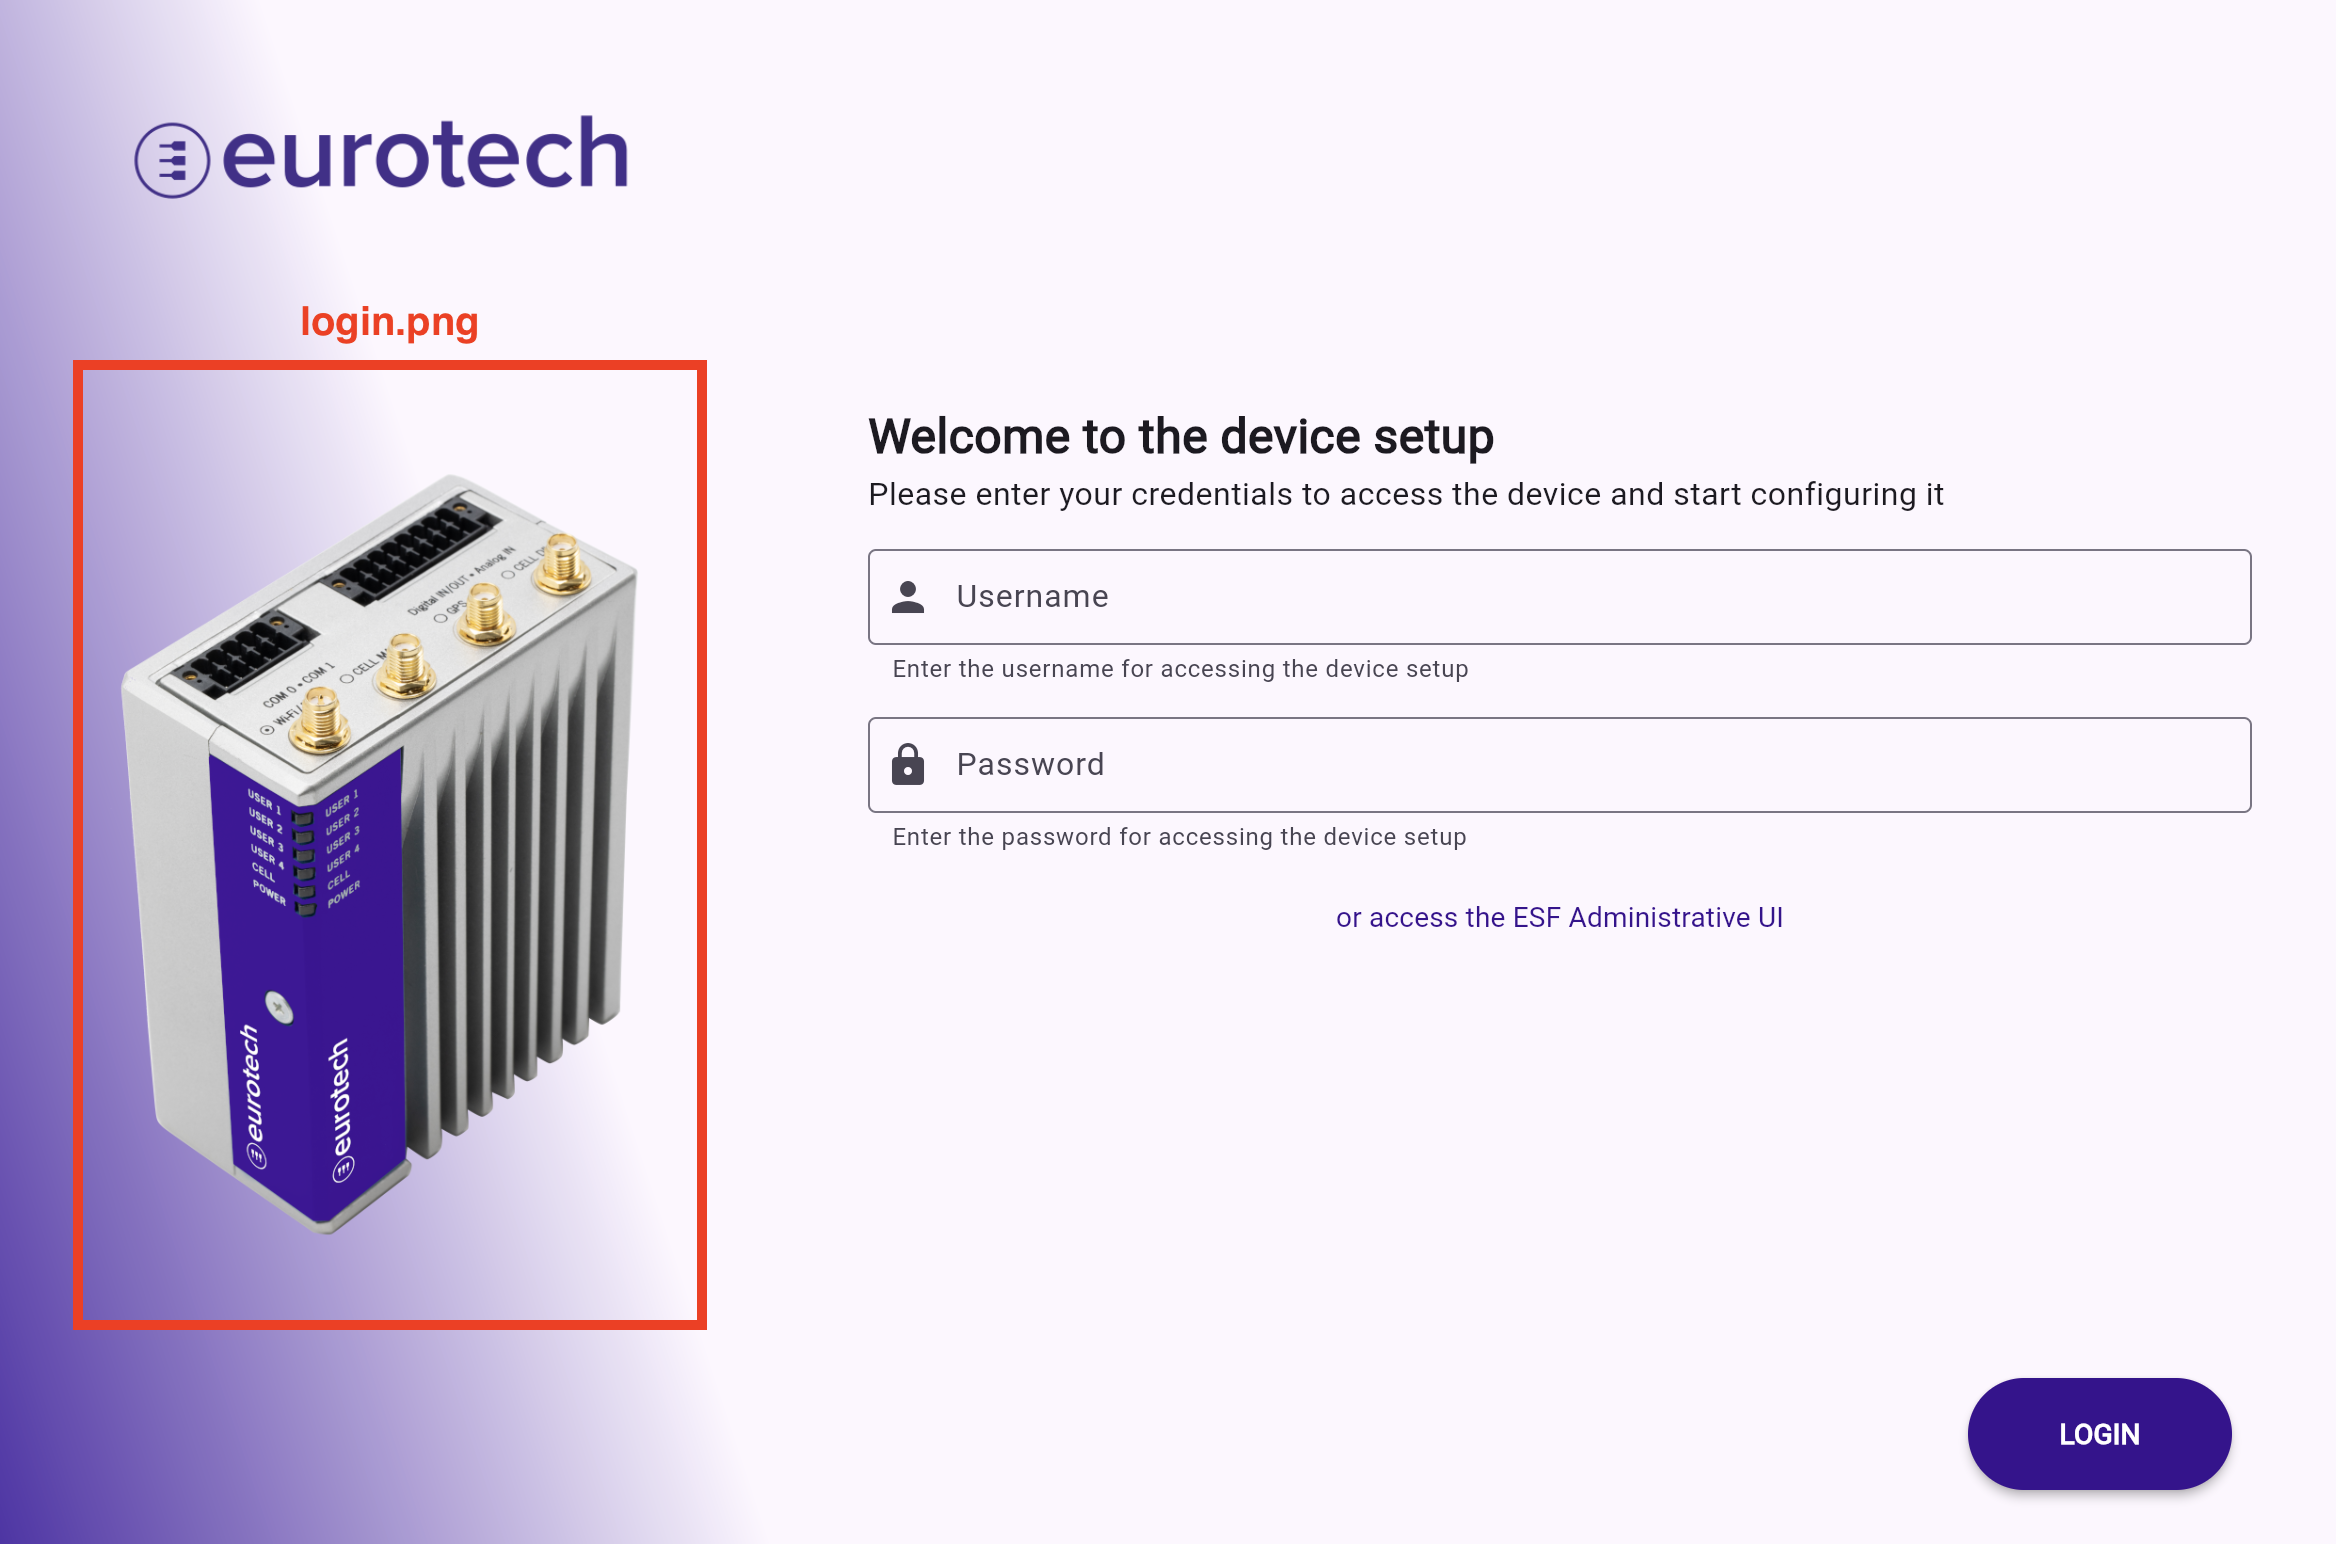
how-to-wifi.png: how to connect wifi antenna schema/image, see image below for reference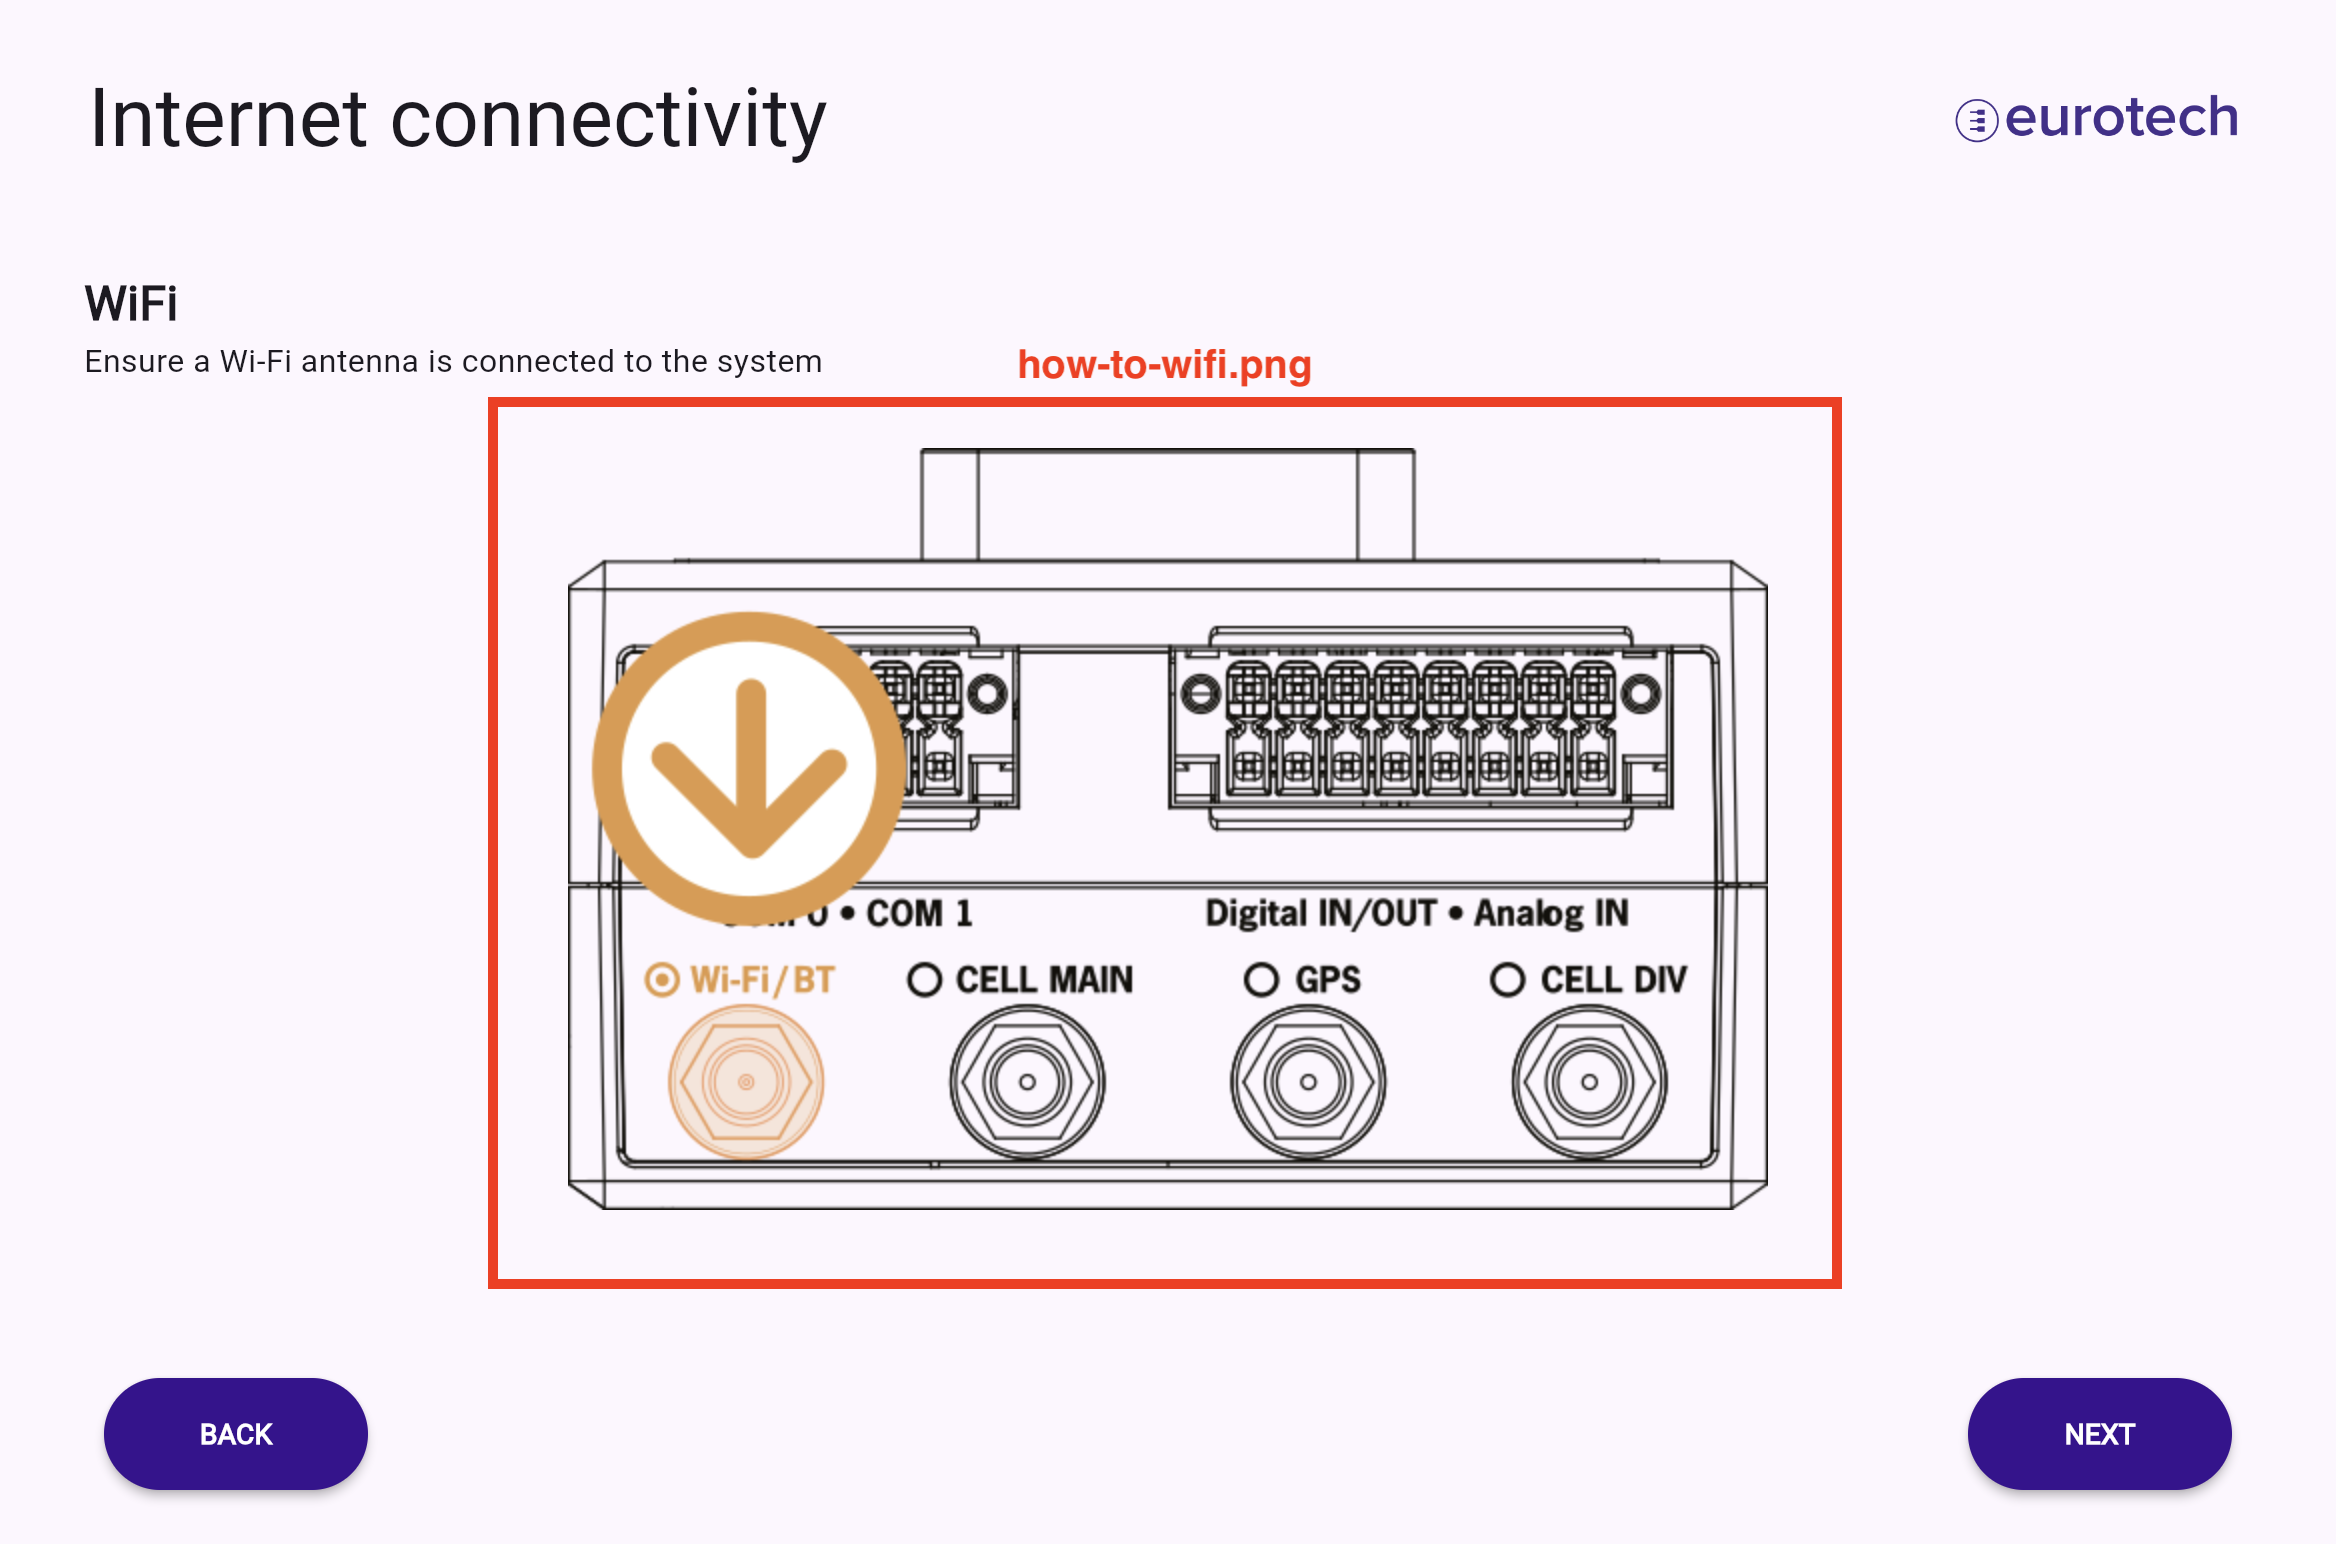
how-to-ethernet.png: how to connect WAN interface schema/image; please refer to the WiFi example for guidancehow-to-modem.png: how to connect the cellular interface and where to insert the SIM; see the WiFi example for context